A while ago I tumbled across a blog post from someone who built a publicly accessible printer—anyone could send messages that would physically print on their desk. The concept stuck with me. It was absurd, delightful, and completely pointless. So that was on the todo-list. So yesterday and today I had time to realize it.
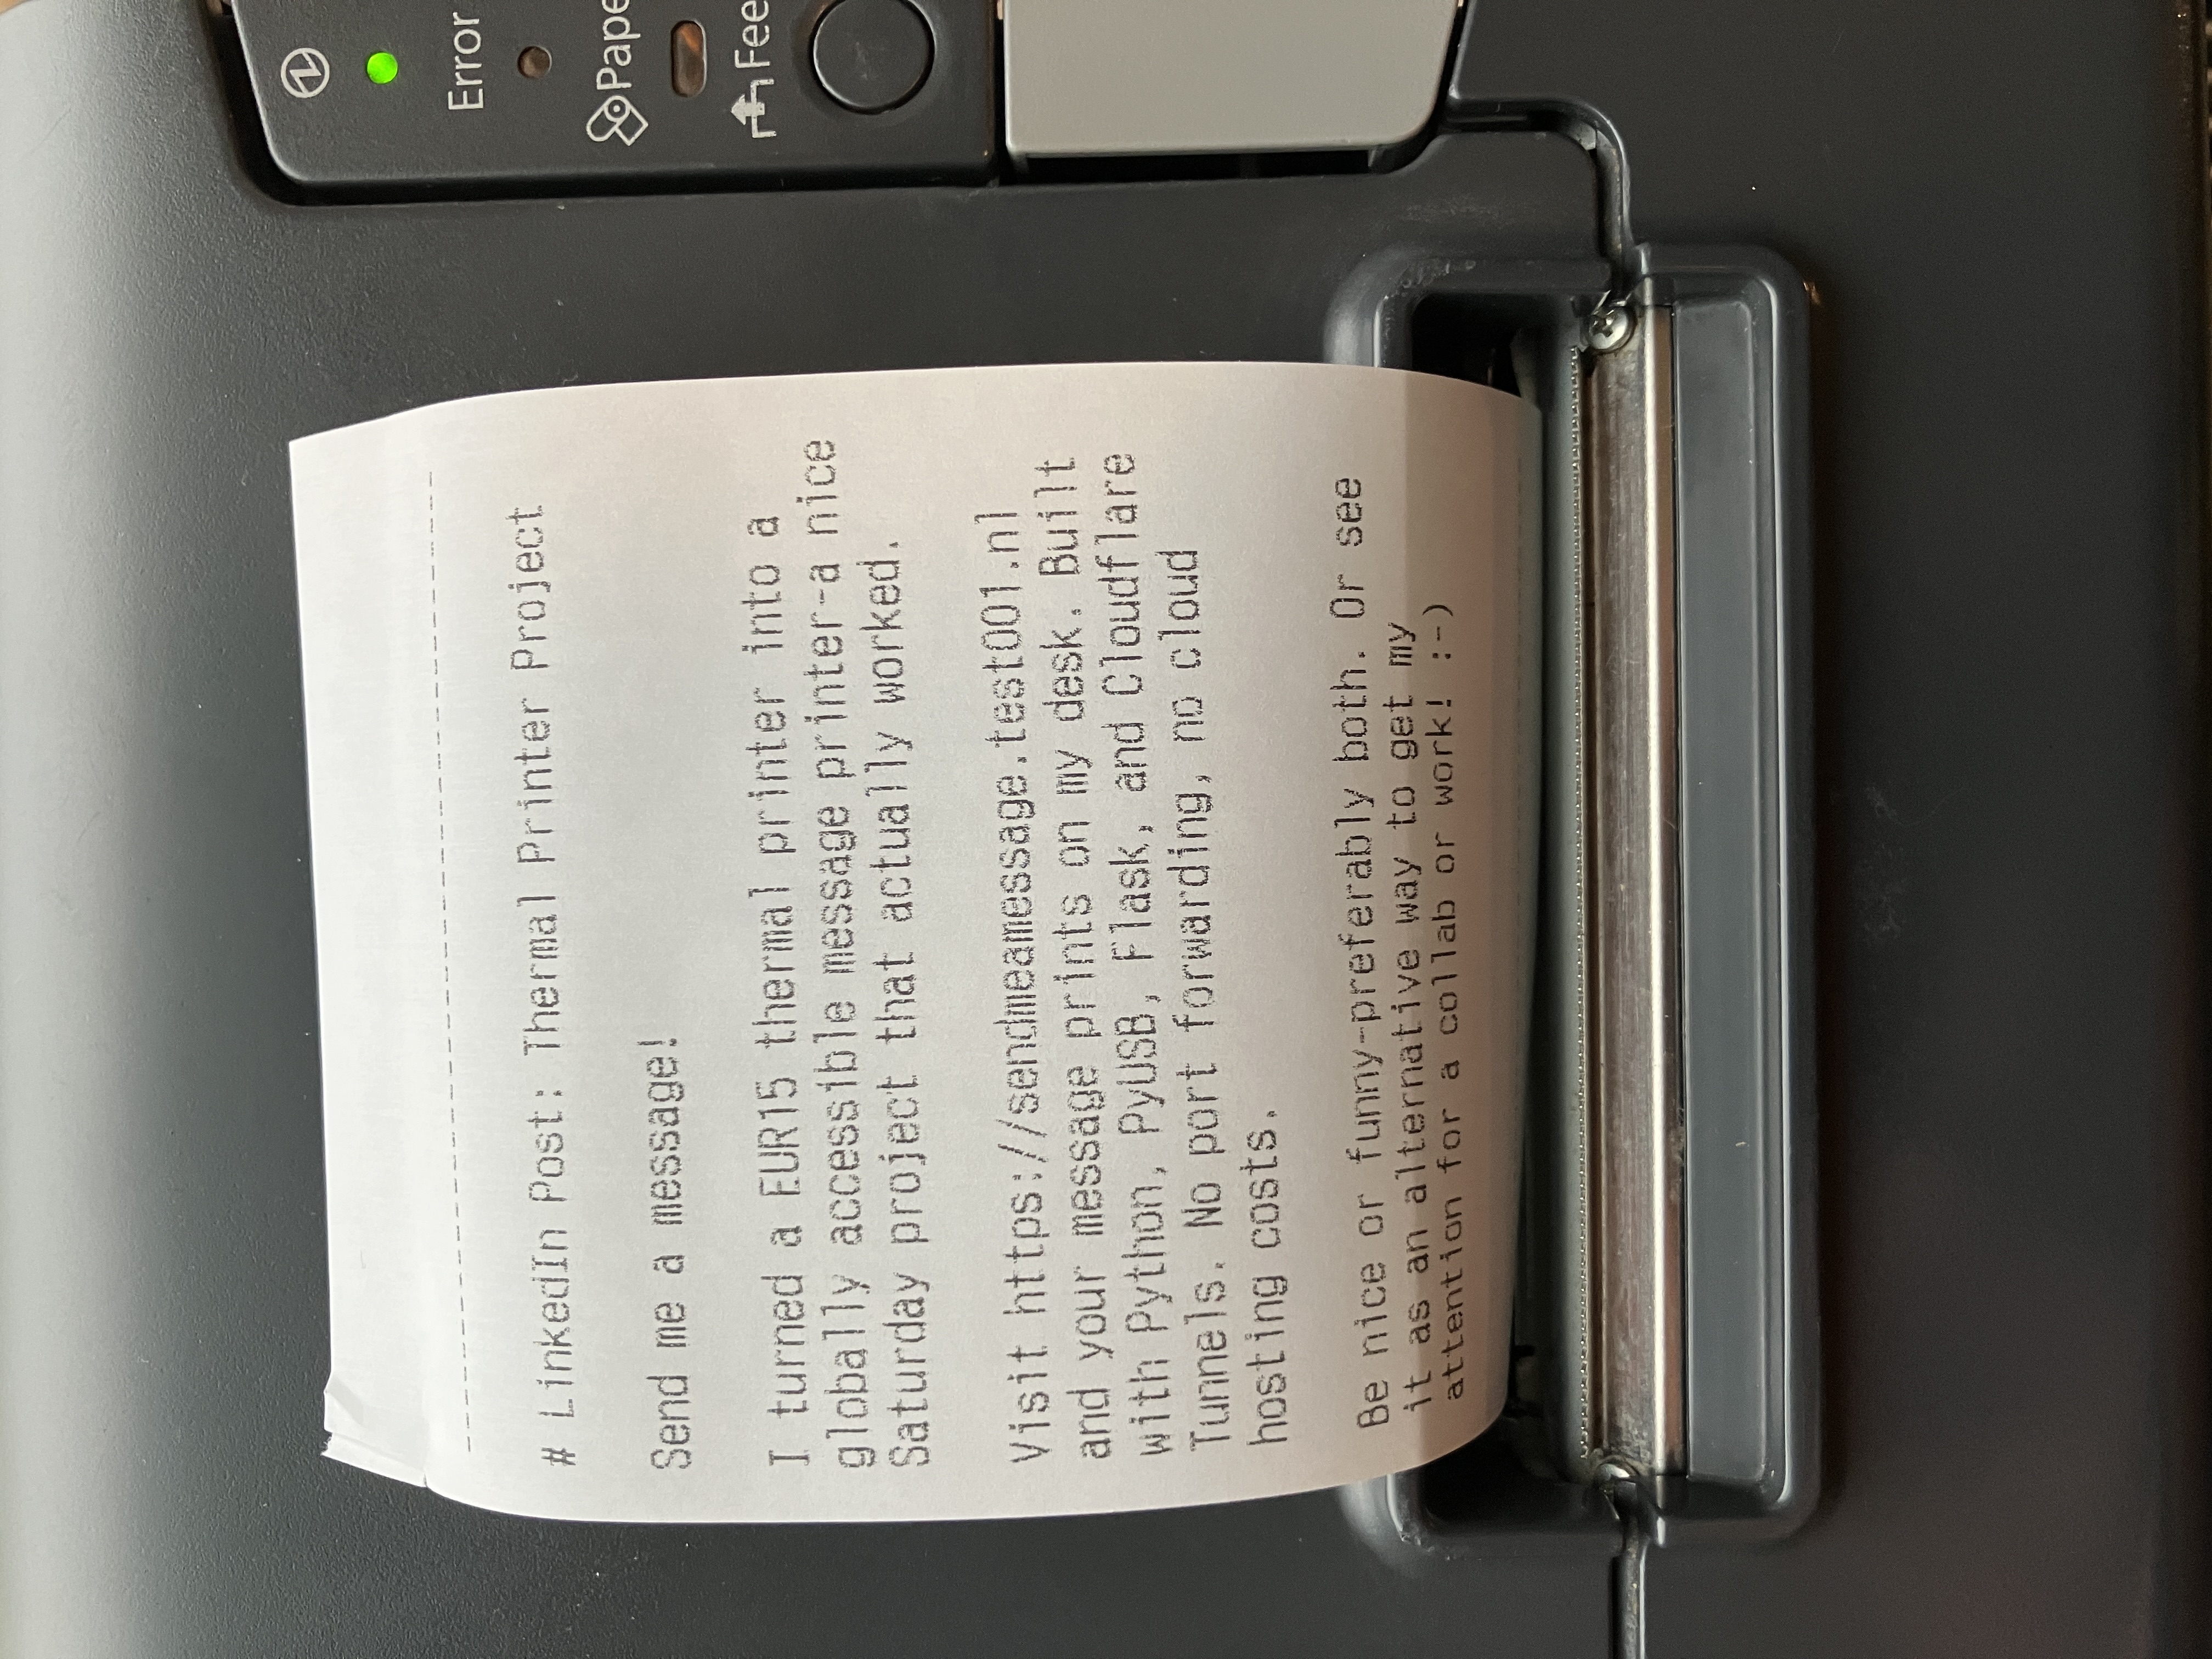
The result: a thermal printer sitting on my desk that anyone, anywhere in the world, can send messages to through a web form. Messages magically appear on physical paper, bridging the digital and physical worlds.
Here’s how to build your own.
Update - November 9, 2025
Thanks for all the messages so far! Really kind!
Update - December 14, 2025
Thanks for even more messages so far! It’s fun and uplifting to receive messages at random times. Unfortunately I have taken the printer offline, need to update the server. We will be back! (with a new and better version)
Now let’s get into it
Finding a Thermal Printer (The Less Glamorous Part)
Before diving into the technical brilliance, let’s talk about acquiring hardware on a budget.
I found two Epson M244A thermal printer on a local marketplace for €15, from a somewhat shady-looking company operating out of a building at the edge of an industrial zone. You know the type—old building, dirty, lots of things everywhere, dark with flickering fluorescent lights, and an office that looks like it hasn’t been updated since 1980.
But the people were genuinely nice. They said it worked, I paid my €15 cash and left.
Back home: first things first: connect the printer to the grid: the feed knob for the paper works, so that was promising. So there is still (some) life in it. However it was filthy. Years of dust, grime, and what I can only assume where remnants of leafs and seeds of various trees or bushes were inside. And a roll of paper (so that means I could make progress)
Wanting to keep my home somewhat tidy, I couldn’t just take this indoor and plug it in. So, disassembly time:
- Full teardown: Removed the outer case, paper feed mechanism, and internal components
- Deep cleaning: Used a brush to remove all the loose dirt.
- Plastic parts: Washed all the plastic housing separately with warm soapy water and a brush.
- Reassembly: Put everything back together.
The power adapter was in good shape—clean, no fraying, and the right voltage.
After an hour of cleaning and reassembly, I had a functional, clean thermal printer and another one for parts. If you are handy taking machines apart it helps.
The Driver Problem
Now came the software challenge. I plugged the printer via USB into my Mac, and… nothing. No driver. No recognition.
I searched for macOS drivers for the Epson M244A, but nothing recent that would run on 15.7.
So I did what any reasonable developer would do: I opened Claude Code and said, “Help me write a USB driver for this printer in Python.” 15 minutes later, I had a working Python-based USB driver using PyUSB. No kernel extensions, no proprietary software, just direct USB communication using the ESC/POS protocol.
Sofar we have a printer that now is proven to work. Now the next step: make it accessible from the internet. And since I do not want to open up any ports on my local firewall and I did not want to run this externally accessible service on the same machine as some more important services I opted for an older Raspberry Pi 3B+ I had laying around with a Cloudflare tunnel to access the pi from the internet.
The USB Driver
Thermal printers speak ESC/POS. It’s a protocol where you send byte sequences to control the printer. Like 0x1B 0x40 means “initialize printer” and 0x1D 0x56 0x00 means “cut paper”.
With Claude Code I built a Python driver using PyUSB. The vendor ID for Epson is 0x04B8. You can find yours with:
# On macOS
system_profiler SPUSBDataType | grep -A 10 EPSON

# On Linux
lsusb | grep EPSON
The driver (m244a_driver.py) ended up being pretty straightforward:
import usb.core
import usb.util

class EpsonM244A:
    VENDOR_ID = 0x04B8

    # ESC/POS command prefixes
    ESC = b"\x1b"
    GS = b"\x1d"

    def __init__(self):
        self.device = usb.core.find(idVendor=self.VENDOR_ID)
        if self.device is None:
            raise ValueError("Printer not found")
        self._setup_connection()

    def _setup_connection(self):
        """Configure USB interface and endpoints"""
        if self.device.is_kernel_driver_active(0):
            self.device.detach_kernel_driver(0)
        self.device.set_configuration()
        cfg = self.device.get_active_configuration()
        intf = cfg[(0, 0)]
        self.ep_out = usb.util.find_descriptor(
            intf,
            custom_match=lambda e: usb.util.endpoint_direction(e.bEndpointAddress) == usb.util.ENDPOINT_OUT
        )

    def _write(self, data: bytes):
        """Send data to printer"""
        self.ep_out.write(data)

    def initialize(self):
        """Reset printer to default state"""
        self._write(self.ESC + b"@")
        return self

    def line(self, text: str = ""):
        """Print a line of text"""
        self._write(text.encode("utf-8") + b"\n")
        return self

    def bold(self):
        """Enable bold text"""
        self._write(self.ESC + b"E\x01")
        return self

    def normal(self):
        """Disable bold text"""
        self._write(self.ESC + b"E\x00")
        return self

    def align_center(self):
        """Center text alignment"""
        self._write(self.ESC + b"a\x01")
        return self

    def align_left(self):
        """Left text alignment"""
        self._write(self.ESC + b"a\x00")
        return self

    def feed(self, lines: int = 1):
        """Feed paper"""
        self._write(self.ESC + b"d" + bytes([lines]))
        return self

    def cut(self):
        """Cut paper"""
        self._write(self.GS + b"V\x00")
        return self

    def __enter__(self):
        self.initialize()
        return self

    def __exit__(self, *args):
        self.feed(3).cut()
I made it chainable so you can write nice fluent code:
with EpsonM244A() as printer:
    printer.align_center().bold().line("HELLO WORLD").normal().cut()
Works great. Printer goes brrrr. And apparently it can also cut the paper when done, did not know that.
The Web Interface
Now I needed a way for people to submit messages. I wanted something fast and easy. Although I have not worked with it for a few years, when I started getting back into programming I used Flask a lot and it seemed like a reasonable choice. Easy to use, everything I needed for this project was possible. Some things to keep in mind:
Background processing: Printing takes 2-3 seconds. If you do that during the HTTP request, users wait forever. So I queue jobs and process them in a background thread. User gets instant feedback.
Word wrapping: Thermal paper is 42 characters wide (in my case, yours may differ). If you don’t wrap text properly, you get garbage. Used Python’s textwrap.TextWrapper with break_long_words=False so it doesn’t split words mid-character.
Rate limiting: This is public. Without limits, someone could (and someone probably will) spam thousands of messages. I use Flask-Limiter with 5/min, 20/hour, 100/day limits.
CSRF protection: Flask-WTF handles this automatically. Every form submission needs a valid CSRF token, preventing cross-site request forgery attacks.
Here’s the Flask app (app.py):
import textwrap
import unicodedata
from queue import Queue
from threading import Thread, Lock, Event
from flask import Flask, render_template, flash, redirect, url_for, request, jsonify
from flask_wtf import FlaskForm
from flask_limiter import Limiter
from wtforms import TextAreaField
from wtforms.validators import DataRequired, Length, ValidationError
from m244a_driver import EpsonM244A

app = Flask(__name__)
app.config['SECRET_KEY'] = 'your-secret-key-here'

# Rate limiter
limiter = Limiter(
    app=app,
    key_func=lambda: request.remote_addr,
    storage_uri="memory://"
)

# Print queue
print_queue = Queue(maxsize=50)
queue_stats_lock = Lock()
worker_shutdown = Event()

# Statistics tracking
queue_stats = {
    "total_jobs": 0,
    "successful_jobs": 0,
    "failed_jobs": 0
}

def sanitize_for_printer(text: str) -> str:
    """Remove control characters that could mess with ESC/POS"""
    cleaned = "".join(
        char for char in text
        if unicodedata.category(char)[0] != "C" or char in "\n\t"
    )
    return unicodedata.normalize("NFC", cleaned)

class MessageForm(FlaskForm):
    message = TextAreaField("Message", validators=[
        DataRequired(message="Please enter a message"),
        Length(min=10, max=500, message="Message must be 10-500 characters")
    ])

    def validate_message(self, field):
        """Make sure message doesn't get too long after word wrapping"""
        wrapper = textwrap.TextWrapper(width=42, break_long_words=False)
        total_lines = sum(
            len(wrapper.wrap(line)) if line.strip() else 1
            for line in field.data.split("\n")
        )
        if total_lines > 50:
            raise ValidationError("Message too long (max 50 lines after wrapping)")

def print_worker():
    """Background thread that processes the print queue"""
    printer = EpsonM244A()
    printer.initialize()

    while not worker_shutdown.is_set():
        try:
            job = print_queue.get(timeout=1.0)
        except:
            continue

        with queue_stats_lock:
            queue_stats["total_jobs"] += 1

        try:
            # Word wrap and print
            wrapper = textwrap.TextWrapper(
                width=42,
                break_long_words=False,
                break_on_hyphens=False
            )

            for line in job["message"].split("\n"):
                if line.strip():
                    for wrapped_line in wrapper.wrap(line):
                        printer.line(wrapped_line)
                else:
                    printer.line()

            printer.feed(5).cut()

            with queue_stats_lock:
                queue_stats["successful_jobs"] += 1

        except Exception as e:
            with queue_stats_lock:
                queue_stats["failed_jobs"] += 1
            print(f"Print error: {e}")

# Start background worker
worker_thread = Thread(target=print_worker, daemon=True)
worker_thread.start()

@app.route("/", methods=["GET", "POST"])
@limiter.limit("5/minute;20/hour;100/day")
def index():
    form = MessageForm()

    if form.validate_on_submit():
        sanitized_message = sanitize_for_printer(form.message.data)

        try:
            print_queue.put_nowait({"message": sanitized_message})
            flash("Message queued for printing!", "success")
        except:
            flash("Print queue is full. Please try again later.", "error")

        return redirect(url_for("index"))

    return render_template("index.html", form=form, stats=queue_stats)

@app.errorhandler(429)
def ratelimit_handler(e):
    """User-friendly rate limit errors"""
    if request.path.startswith("/api"):
        return jsonify({"error": "rate_limit_exceeded"}), 429

    retry_after = getattr(e, "retry_after", 60)
    minutes = int(retry_after // 60)
    seconds = int(retry_after % 60)

    if minutes > 0:
        wait_time = f"{minutes} minute{'s' if minutes != 1 else ''}"
    else:
        wait_time = f"{seconds} second{'s' if seconds != 1 else ''}"

    flash(f"Rate limit exceeded. Please wait {wait_time}.", "error")
    return redirect(url_for("index"))

if __name__ == "__main__":
    app.run(host="0.0.0.0", port=5001, debug=False)
Works on my Mac. Now to get it running on the Pi.
Deploying to Raspberry Pi - 3B+
First, get the code onto the Pi. I created a deployment script (deployment/deploy.sh) that syncs files using rsync.
#!/bin/bash
# deployment/deploy.sh

rsync -avz --delete \
    --exclude '.venv' \
    --exclude 'printer_stats.json' \
    --exclude '.git' \
    ./ pi@raspberrypi.local:/home/pi/m244a_driver/

ssh pi@raspberrypi.local "sudo systemctl restart print-service"
echo "Deployment complete!"
The --exclude '.venv' is important. If you don’t exclude it, rsync will delete your virtual environment on every deployment. Took me a while to figure that one out.
On the Pi, install dependencies. The actual script is longer, this is the essence:
#!/bin/bash
# deployment/install.sh

sudo apt-get update
sudo apt-get install -y python3 python3-pip python3-venv libusb-1.0-0-dev git

# Create virtual environment
python3 -m venv .venv
.venv/bin/python3 -m pip install --upgrade pip
.venv/bin/pip install -r requirements.txt

# Configure USB permissions so pi user can access the printer
echo 'SUBSYSTEM=="usb", ATTRS{idVendor}=="04b8", MODE="0666", GROUP="dialout"' | \
    sudo tee /etc/udev/rules.d/99-epson-printer.rules
sudo udevadm control --reload-rules
sudo udevadm trigger

# Add pi user to dialout group
sudo usermod -a -G dialout pi
Systemd Service
I want this to start automatically on boot. Systemd service time.
Create deployment/print-service.service:
[Unit]
Description=Thermal Printer Web Service
After=network.target

[Service]
Type=simple
User=pi
WorkingDirectory=/home/pi/m244a_driver

# Important: use system Python, not venv symlinks
# ProtectSystem=strict breaks symlinks, so we use PYTHONPATH instead
Environment="PYTHONPATH=/home/pi/m244a_driver:/home/pi/m244a_driver/.venv/lib/python3.13/site-packages"
Environment="VIRTUAL_ENV=/home/pi/m244a_driver/.venv"
Environment="PYTHONUNBUFFERED=1"
ExecStart=/usr/bin/python3 /home/pi/m244a_driver/app.py

# Security hardening
NoNewPrivileges=true
ProtectSystem=strict
ProtectHome=read-only
ReadWritePaths=/home/pi/m244a_driver
PrivateDevices=false  # Need USB access
RestrictRealtime=true
RestrictNamespaces=true

# Auto-restart on failure
Restart=on-failure
RestartSec=10

[Install]
WantedBy=multi-user.target
Quick note: the PYTHONPATH trick is necessary because ProtectSystem=strict can’t follow venv symlinks. Took me a while to debug that, writing on one system (macbook) while running on another (pi).
Install it:
sudo cp deployment/print-service.service /etc/systemd/system/
sudo systemctl daemon-reload
sudo systemctl enable print-service
sudo systemctl start print-service

# Check it's running
sudo systemctl status print-service

# Watch logs
sudo journalctl -u print-service -f
Making It Publicly Accessible
I don’t want to open ports on my router. Enter Cloudflare Tunnels. (I used ngrok to test as well, easy and fast. However for longer running processes you need to upgrade, and I already had Cloudflare running on this domain)
Cloudflare Tunnels create an outbound connection from your Pi to Cloudflare. Then Cloudflare routes traffic back through that tunnel. Free HTTPS, DDoS protection, no port forwarding. It’s kind of magic (and a lot easier than the ‘old’ methods. Just follow the instructions)
Install cloudflared on the Pi:
curl -L https://github.com/cloudflare/cloudflared/releases/latest/download/cloudflared-linux-arm64 -o cloudflared
chmod +x cloudflared
sudo mv cloudflared /usr/local/bin/
Authenticate with Cloudflare:
cloudflared tunnel login
This opens a browser window. Login, authorize, done.
Create a tunnel:
cloudflared tunnel create printer
You’ll get a tunnel ID. Save it.
Route DNS:
cloudflared tunnel route dns printer sendmeamessage.test001.nl
Create config file at ~/.cloudflared/config.yml:
tunnel: YOUR_TUNNEL_ID
credentials-file: /home/pi/.cloudflared/YOUR_TUNNEL_ID.json

ingress:
  - hostname: sendmeamessage.test001.nl
    service: http://localhost:5001
  - service: http_status:404
Install as a service:
sudo cloudflared service install
sudo systemctl start cloudflared
sudo systemctl enable cloudflared
That’s it. Visit https://sendmeamessage.test001.nl and it works. UPDATE 24-12 Temporarily offline due to server replacement.
Security
This is publicly accessible. Anyone can send messages. That’s the point. But I still added some protection:
Rate limiting: 5/min, 20/hour, 100/day per IP. Prevents spam.
Input validation:
- Length: 10-500 characters
- Line count: Max 50 lines after word wrapping
- Control character filtering: Strips anything that could mess with ESC/POS commands
CSRF protection: Flask-WTF handles this automatically.
Systemd hardening: Runs as non-root user, read-only filesystem (except working directory), no privilege escalation.
No authentication. That’s intentional. The worst case is someone prints harmless messages.
Performance
On a Raspberry Pi 3B+:
- RAM: ~50-100MB
- CPU: <5% idle, ~10% when printing
- Startup: ~2 seconds
- Cost: €0/month
Works great.
Try It
Want to send me a message? Visit https://sendmeamessage.test001.nl.
Be nice. Or funny. Preferably both.
What’s Next
Some ideas:
- Live webcam feed - Watch your message print in real-time (coming soon!)
- Message moderation - AI filtering for spam
- Analytics - Track popular messages
For now, it sits on my desk, occasionally whirring to life when someone discovers it.
Resources
If you want to build your own:
USB Programming:
Flask:
Cloudflare Tunnels:
Raspberry Pi:
Total time: ~1 day Total cost: €15 for the printer + €0/month Lines of code: ~600
Built something similar? I’d love to hear about it—get in touch or send me a message via the printer!